
Grid 3
mego Setup
Driver auto installs.
Grid 3 – Joystick
C5 – Keyboard, “Space”
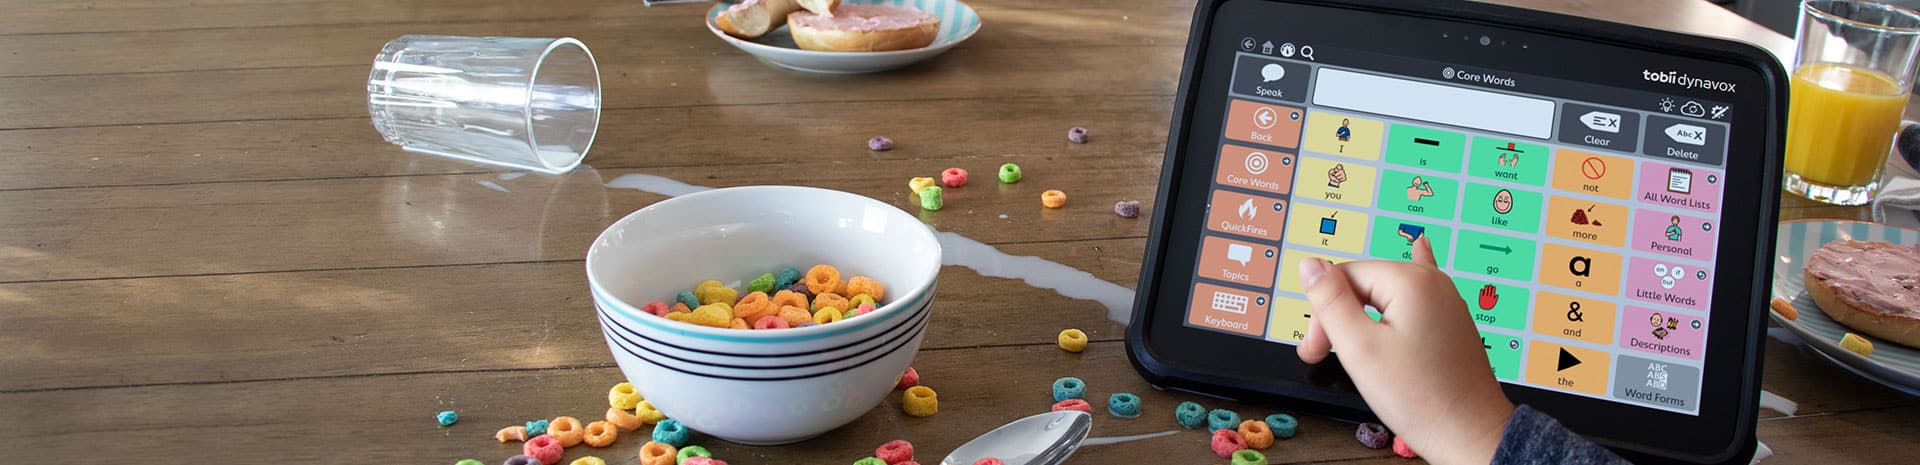
- TD Snap is a Windows “UWP” app, meaning it doesn’t quite have the same folder and file structure as other software, and launching in the methods that Grid 3 uses isn’t quite so straightforward. Before it was updated to TD Snap, there was a ‘friendly’ name that could be used to make this slightly easier. That’s no longer the case.
- Use Grid’s “Start program” command, set it to launch Windows File Explorer
- Ensure it is set to “Start new” – otherwise you’ll end up with just a File Explorer window
- In the argument have this exact text: shell:appsfolder\TobiiDynavox.Snap_626b2w651dr5w!App
How do I connect my Gmail account with Grid 3?
To use your Gmail account with Grid 3 you require 2-step verification to be enabled and an app password to be created, as well as the less secure apps, feature to be turned on.
An app password is a unique password used to sign into one application (in this case Grid 3). It will be different from your usual account password and can be revoked or changed at any time.
To complete this process, follow the following steps.
Part 1: Enabling IMAP
Part 2: Enabling 2-step Verification
Part 3: Creating an app password
Part 1: Enabling IMAP
1. Sign into the Gmail account outside of Grid 3 (through Internet Explorer etc.)
2. In the top right, select Settings – See all settings.
3. Select the Forwarding and POP/IMAP tab.
4. In the IMAP access section, select Enable IMAP, then select Save Changes.
Part 2: Enabling 2-step verification
2-step authentication requires a phone to setup. You will need to receive a code, either via an automated phone call or SMS message.
1. Browse to the Security tab following the steps shown above.
2. Select the 2-step verification option below the Signing into Google section.
3. Enter the phone number you wish to tie to the account and select either a Text Message or Phone Call to receive the verification code, then press Next.
4. Enter the key received to the phone into the field provided. You will then see the option to turn on 2-step verification.
Part 3: Creating the app password
- Go to https://accounts.google.com/v3/signin/challenge/pwd?continue=https://myaccount.google.com/apppasswords&service=accountsettings
- You will then be prompted to enter a custom name – we recommend “Grid 3”. Once entered, press the Generate button.
- Your unique Grid 3 app password will then appear inside the box in the top right corner of the new window. This password will then need to be copied and pasted into the Grid 3 Email Settings field.
Using the app password to link Gmail to Grid 3
1. Open Grid 3, browse to the menu bar (three lines, top left corner) and select Settings.
2. Browse to the Accounts tab on the left hand side and select the Email option at the top of the screen.
3. In the Email area, select Google account from the drop-down menu and input your email address and the app password we generated earlier, then press Test Connection.
Once the Connection successful message appears, press OK. The Gmail account is now connected with Grid 3.
Ensure you have not paired the phone via Windows Bluetooth – it must be paired only in Grid 3.
Check ‘Hands Free Profile Driver’ is present in Device Manager (Bluetooth Devices).
If not, you can install it manually using the installer here: C:\Program Files (x86)\Sensory Software\ssUtils\HandsFreeProfileDriver
You’ll need to disconnect the phone, then install it, then pair the phone again if you are doing it on an existing connection.
Grid 3 comes with one token as standard. There is no difference between the upgrade version and if it was purchased as the complete program.
Once you register Grid 3 with Smartbox (https://thinksmartbox.com/regi
1. Plug the switch into either switch port.
2. In Grid 3, go to Settings > Access > Switches > Connection
3. Select “Keyboard” from the drop-down menu.
4. Select “Change Key” on Switch 1, now press the switch.
5. You should see it update to “F13” or “F14”.
6. Switch is now ready to use.
You’ll need to copy and paste the folder over manually. You can find the accessories folder here: C:\Users\Public\Public Documents\Smartbox\Grid 3\Users\<USERNAME>\
The folder you need to copy is the Environmental Control Accessories folder and paste it in the same location on the new device.
If you still have issues please contact Link Assistive support@linkassistive.com
Setup Eye Gaze with Switch activation in Grid 3, on I-12+ and I-15+:
Go to “Control Centre”, set the Switch to ‘Keyboard’ button “F1”.
Now go to Grid 3 > Settings > Switches and configure the switch to ‘Keyboard’ and “F1”.
Switch is now ready to use.
From Grid Explorer: Add Grid Set -> Online Grids -> Search PCS -> Select required gridset.
This is current feature request we are waiting on. In the meantime, you can use this workaround:
To send text messages and make calls via Grid 3, you will need an Android phone with operating system version 6 or higher, or iPhone running iOS 13.
Please visit https://thinksmartbox.com/answer/using-a-smartphone-with-grid/ for full details.
Here’s a video to show you how it works
Remote Editing setup instructions
For further assistance, contact Link Assistive on support@linkassistive.com
1. Go to Settings > Speech. Set the Audio Feedback voice to a voice different to the Speaking voice.
2. Go to Configure (Audio Feedback), set the Speakers to Headphones.
3. Now go to Settings > Access > Switches.
4. Go to Activation. Scroll down to Highlighting. Set ‘Speak Description when Highlighting’.
5. Done!
Contacts can be exported from Android or iOS into either a .csv or vCard format. If you email either of these into support@linkassistive.com, we can ask Smartbox to convert it into a Grid 3 contacts file that you can then import. This process can take some time depending on how large the contacts file is.
- Create a shortcut for the program somewhere easy to find (Desktop or Downloads folder for example)
- Rename the Shortcut to something nice and simple.
- In Grid 3, set your start program command to start Windows Explorer.
- In the arguments field (on the start program command) copy in the file path to your shortcut e.g. C:\Users\Adam\Downloads\DigitalPainters.lnk – .lnk is the file format for a Windows shortcut
- Give the cell a try.
Learning resources online, please visit https://thinksmartbox.com/smart-support/learning-resources/
Webinar videos can be found by visiting https://thinksmartbox.com/smart-support/webinars/
Knowledge base can be found here https://thinksmartbox.com/answer/remote-editing-in-grid-3/
To view manuals please visit https://thinksmartbox.com/answer/grid-pad-manuals/
For the message banked files these are all saved on the computer as well as in Grid 3 and can be copied if needed, you will find the files in :
C:\Users\Public\Documents\Smartbox\Grid 3\Users\’name of user’ \en-AU\Recordings
They are also saved in a Grid 3 user back up.
It is not currently possible to add more than one email account in Grid 3. This is a feature request so it will be something that is added in future updates to Grid 3.
The only workaround is to create a new user, and then switch between users.
Smartbox have a selection of pre-programmed IR codes for various TVs and other devices –
https://thinksmartbox.com/answer/pre-recorded-ir-remote-files-environment-control/
Check the voice is licensed. Voices such as Olivia or Liam need to be “Activated” before they will work.
If the sound still doesn’t work, right-click the volume icon in the task bar and select “Volume Mixer”. Check Grid 3 is not muted.
Finally, if the sound still doesn’t work, create a new Grid 3 user profile.
If you are experiencing difficulties with sound in Grid 3, check the following:
- First check that sound is working in the Control Panel and that no sounds are muted in the Volume Mixer (right click on the volume icon in the bottom right corner of your screen).
- Then check the sound in Grid 3 under Menu > Settings > Speech and select Configure under Speaking. Make sure..
-the volume is turned up
-the correct speaker is configured - go to Control Panel > Sound > Playback device
Select USB AUDIO CODEC > Properties > Advanced
Untick option for ‘Allow applications to take exclusive control of this device’ and press OK.
Please also check to see if there are any Windows updates required or pending and also please ensure your device is not in power saver mode.
Steps regarding power saver mode – https://thinksmartbox.com/answer/recommended-power-settings-grid-pad/
Smartbox have a special gridset for typing directly into Word:
- Ensure your device is connected to the internet
- Set up your user as normal, select the gridsets from the wizard that you would like or select none
- Once your user is set up and you are on the Grid Explorer home page you can add the PODD page sets
- Go to the menu on the top left
- Select “Add grid sets”
- Select “Symbol Communication” and click next
- Scroll down to select “PODD”
- Click “next”
- Select the gridset you would like to add to your Grid Explorer and click “next”
- Then select “add” and this will add the PODD gridset to your Grid Explorer.
- Repeat this process for any other PODD gridsets you want to add
If PODD is not available in the “Symbol Communication” section select “Online Grids” and search for PODD. You will find the gridsets in online grids. This is also where you can find the specific eye gaze PODD gridsets.
Grid 3 comes with Australian child voices Liam and Olivia.
- Ensure your device is connected to the internet as the voices will require downloading
- Go to the menu and “Settings”
- Select “Speech”
- Select “Voices”
- Select “Liam” or “Olivia” it should say “Activate” down below. If it says “Buy”, click on another button then click back on it again until it changes to “Activate”
- Done!
- https://apps.d-bur.com/
If your Smartbox software (eg Grid 3, Look to Learn) asks for a License code after a Windows Update:
1. Close any open programs.
2. Navigate to the “Smartbox” folder on the Start Menu
3. Run “Smartbox Update”.
Run “Configuration Manager” and restart the device. This is usually found on the desktop (green icon), otherwise on the Start Menu > Tobii DynaVox.
If the issue persists please contact Link Assistive Support
- Open Grid’s Menu – Settings – Access – Switches – Connection.
- Set the drop-down menu to “Keyboard”.
- Highlight any one of the switches and choose “Change key”. Press the up arrow whilst the “Change key” window is open. This should now show e.g. “Switch 1 (Up)”.
- Go back to Access – Switches, then set the top drop-down to “Do not use switches”.
SUBSCRIBE
Keep up with our latest Assistive Technology products and offers.
Link Assistive acknowledges Traditional Owners of Country throughout Australia and recognises the continuing connection to lands, waters and communities. We pay our respect to Aboriginal and Torres Strait Islander cultures; and to Elders past, present, and emerging.