TD I Series – Trials and Loans Support
We’re here to help
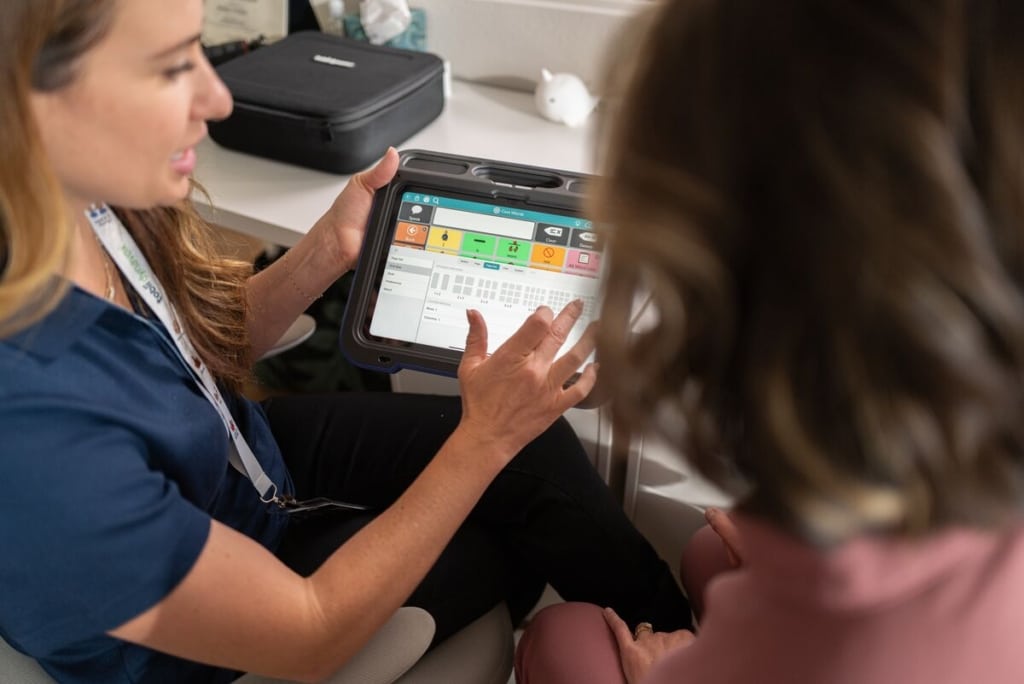
We are here to help you during your equipment trial to make it as smooth as possible.
Please get in touch to ensure the equipment is doing what you need it to do.

TD I Series
STEP 1 – Turn the device on
Press and hold the power button, on the back of the device until you see the Tobii Dynavox logo on the screen
STEP 2- Mount & Position
Make sure the user is positioned comfortably.
Mounting
- Adjust screen height with included mount.
- Adjust seating if possible.
- Use height adjustable table if required.
Positioning device for user
- Adjust eye tracker/screen angle to suit user.
- Position at a distance of 45-70 cm away from screen.
- Make sure eye tracker is level with or just below user’s eyes.
- If user’s head is normally tilted, tilt screen to match.
- If user is usually in reclined position, then a specialised mount may be required to position screen.

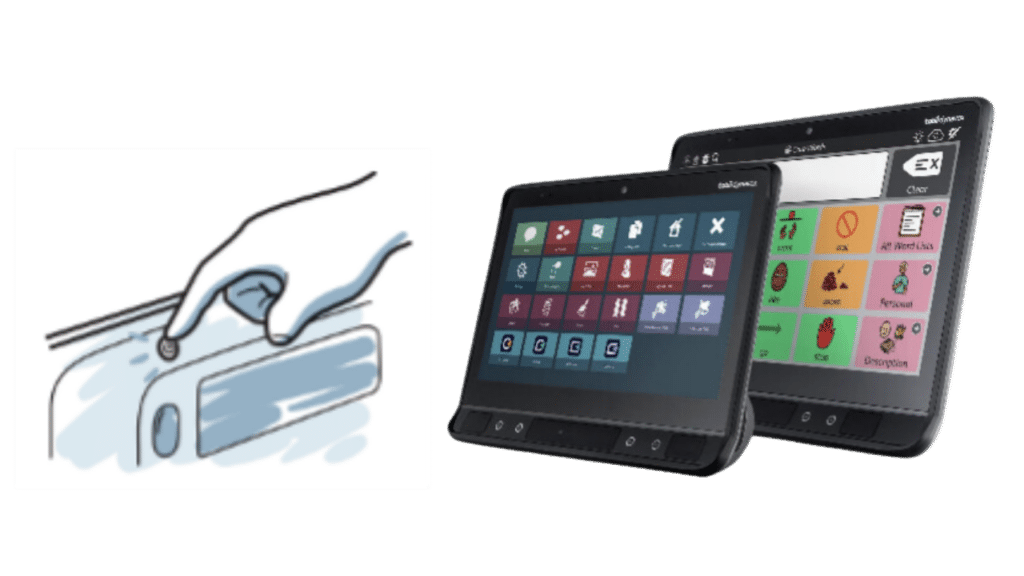
Track Status
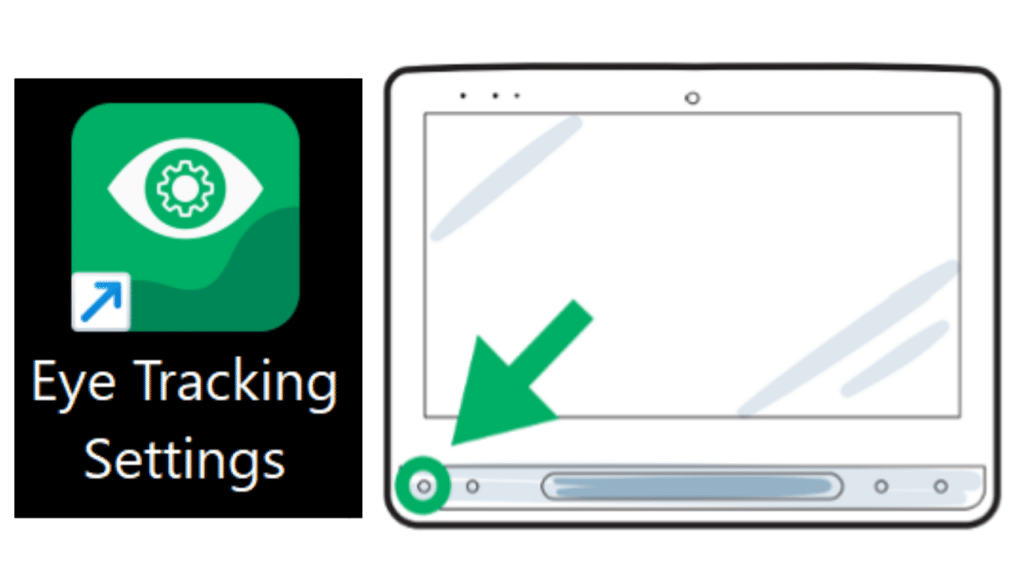
- Track status can be accessed by pressing the triangle button on the bottom left of screen or by opening Eye Tracking Settings.
- The two white dots show where the user’s eyes are positioned. These must be in the middle of the black area.
- The white arrow in the green area shows the distance from screen, move the device closer or further away until the arrow is in the green area and the eyes are in a central.
- The triangle and square (adaptive buttons) may be disabled or set to do a different action. You can set the actions in the Hardware Settings icon on the desktop.
STEP 3 – Calibrate
Calibrate the user’s eyes within Eye Tracking Settings.
o Open Eye tracking Settings.
o Choose eyes to track – select either both, left or right.
o Check the track status positioning.
o Customise calibration if required – select customise.
o When ready to calibrate – select calibrate.
The user does not need to calibrate every time if the position is right.
Changing stimulus type, speed, size of target can improve calibration – adjust within the calibration settings – select customise.
There are also different options for accessing calibration and calibration settings within the communication software being used.
Please review the resources below for the software being used or contact your clinical team member.
Information
Clinical & Therapy Support
Our clinical team of Speech Pathologists and Occupational Therapists can support you to set goals for your trial, learn to use the equipment, personalise the software for your needs, and evaluate your trial.
Technical Support
Our Technical Support and Repairs team is here for your technical issues or troubleshooting.
All Link Assistive trial devices have TeamViewer installed, so we can log into the device remotely.* Whenever possible, please book a time in advance with our technical support team by:
Phone: 08 7120 6002
Email: support@linkassistive.com
*Your device must be switched on and connected to the internet via wifi or mobile hotspot.
Administrative Support
Contact us at loans@linkassistive.com for support with administration regarding your equipment trial, such as adjusting trial dates or arranging the return of trial equipment.
Online Supports & Resources
We have a range of support information on our website for your equipment trial. Get started by checking out our Getting Ready for Your Communication Device Trial page.
Call us for technical support and consultation 08 7120 6002